If we add title and description in category archive pages to our DIVI theme , it helps the users to know where they are. Let’s add title and description to Divi archive/category pages:
Table of Contents
Step 1 . DIVI Theme how to Install File Manager
Its very simple to install file manager in DIVI theme. Here you only follow these
steps to install file manager.
- Dashboard > Plugins > Add New > Search “File Manager”(Image 1.0)

Image 1.0 - Install & Activate file manager plugin. (Image 1.1)

Image 1.1 - Goto Dashboard > WP File Manager
- Go to your theme folder. wp-content > themes > Divi
Step 2. Creating category in DIVI Theme
- Right click on index.php and duplicate the file.(Image 2.0)
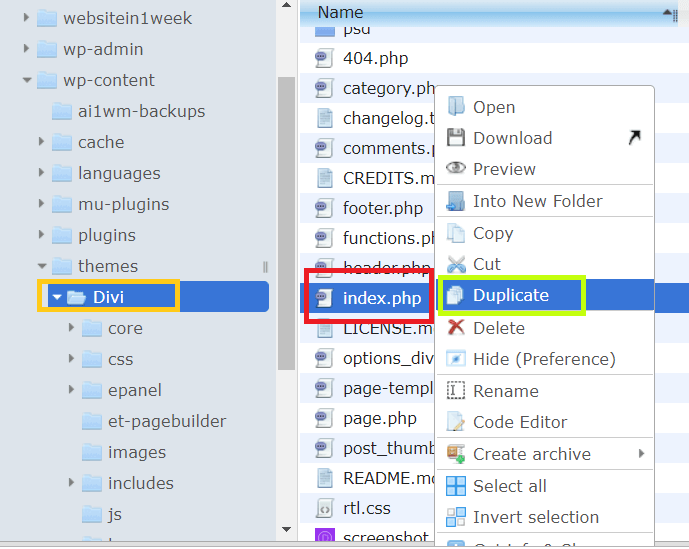
Image 2.0 - Index copy.php will be created.(Image 2.1)

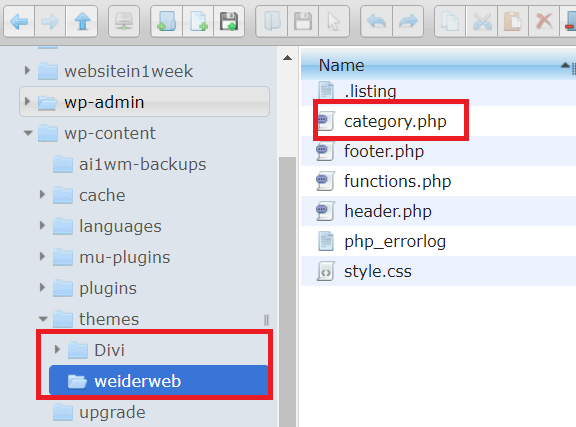
- Rename it to category.php.
- Cut category.php and paste into your DIVI child theme.
Step 3. Add Code to category.php
- Right click on category.php and open code editor.
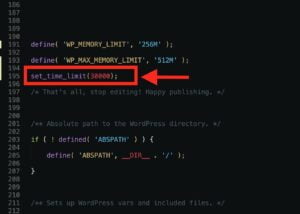
- Find these lines

- Insert the following code underneath this.
<?php if ( have_posts() ) : ?>
  <header class="blog-title">
    <h2><?php printf( __( '%s', 'Divi' ), '<span>' . single_cat_title() . '</span>' ); ?></span></h2>
    <?php the_archive_description( '<div class="taxonomy-description">', '</div>' );?>
    <hr class="archive-line"/>
  </header>
<?php endif; ?>
- Save & close.
Step 4. Add custom CSS – divi custom css (optional)
- Goto : Dashboard > Divi > theme options.
- Scroll all the way down and add this code to custom CSS.
.blog-title { margin-bottom: 61px; } hr.archive-line { width: 22%; float: left; border: 0; height: 5px; background-color: #901688; } - Save and check your archive page for the title & description.
Hope you like this tutorial creating a category title in Divi theme 🙂 Kindly share this post to support our site. Thanks.
Having issue? comment below or click here to contact us